The quick version
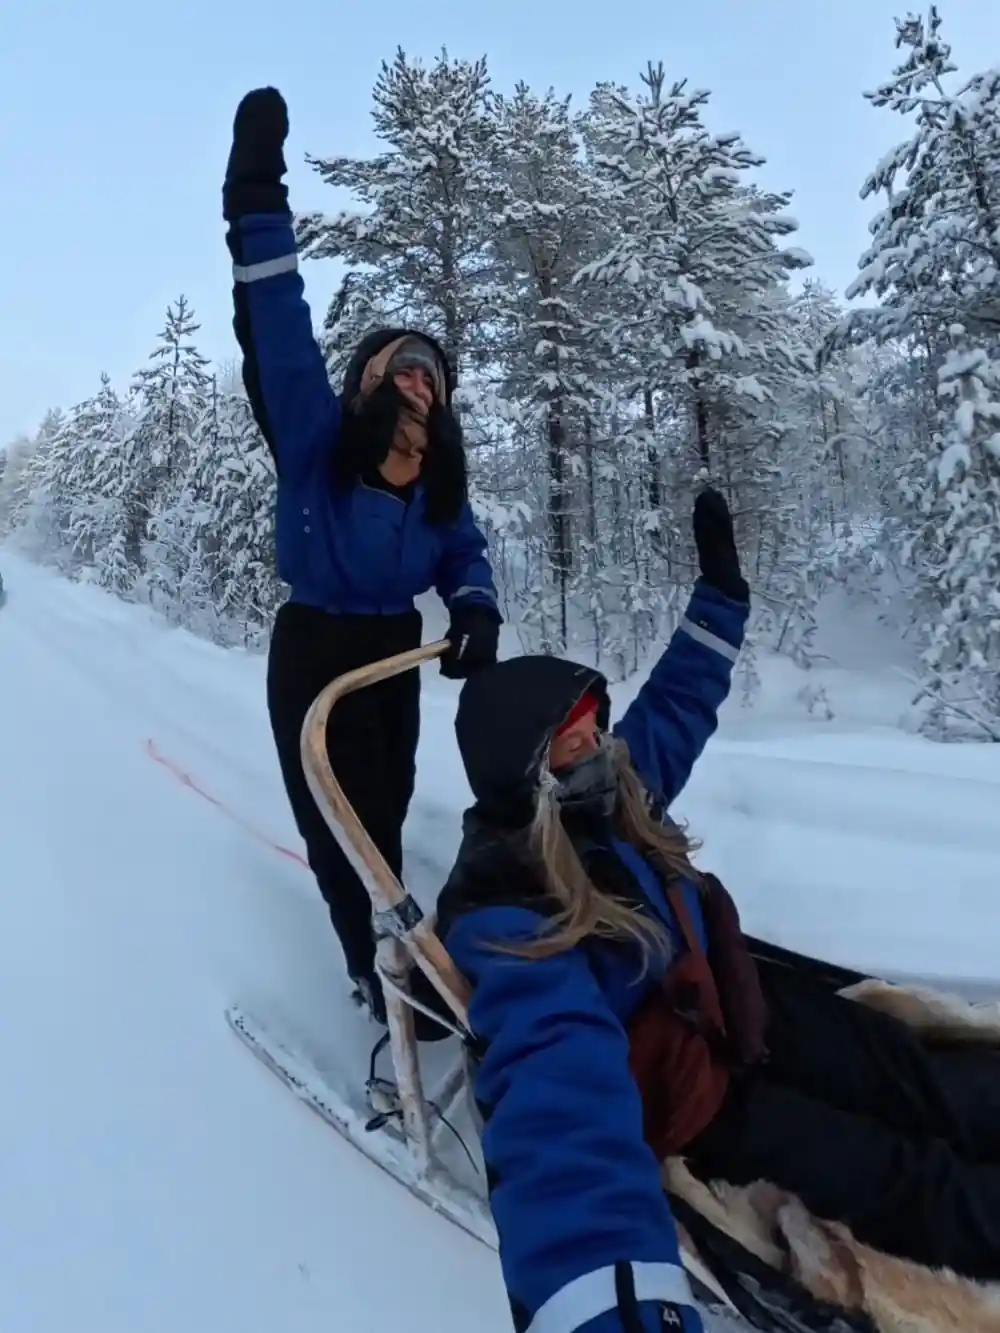
- You can hold a phone while driving the sled, though mittens make it tricky. A passenger has an easier time capturing shots during the 6 km ride.
- Stow cameras in an inside pocket or pack before you depart. Keep phones accessible in an outer pocket if you plan to shoot; avoid dangling cords near the huskies.
- Batteries drain fast at sub-zero temperatures. Keep spares in an inside pocket close to your body, and expect reduced capacity until devices warm up indoors.
- Never open your camera bag immediately after returning indoors from the cold. Wait 15 to 20 minutes for gear to acclimate, or moisture will fog lenses and electronics.
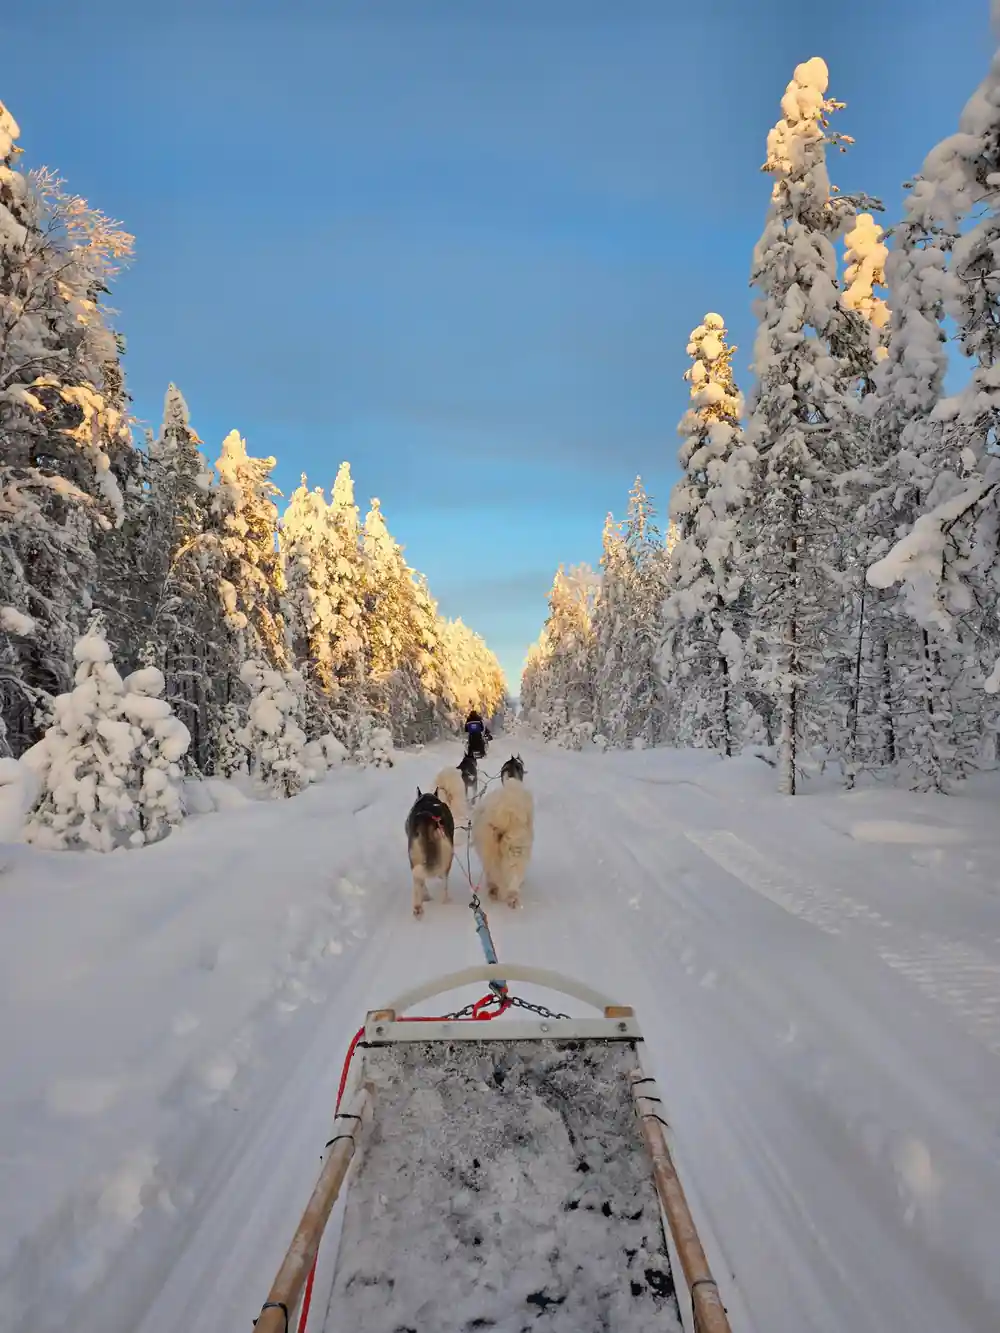
- The blue-hour forest light during winter afternoons is soft and even. Boost ISO and use a wider aperture to capture the subtle tones of snow and trees.
Shooting One-Handed While Driving
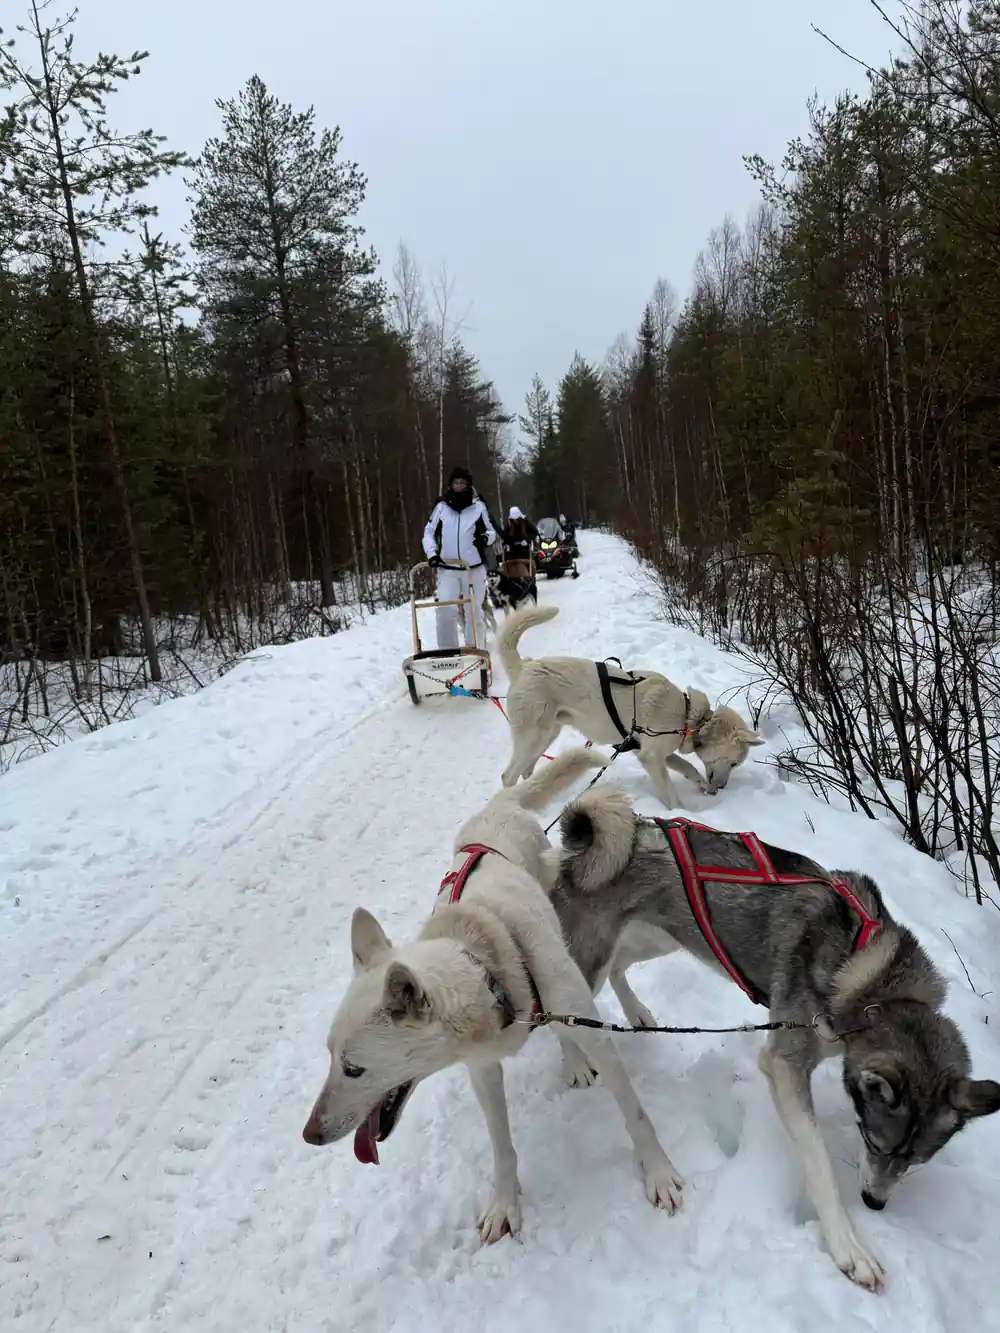
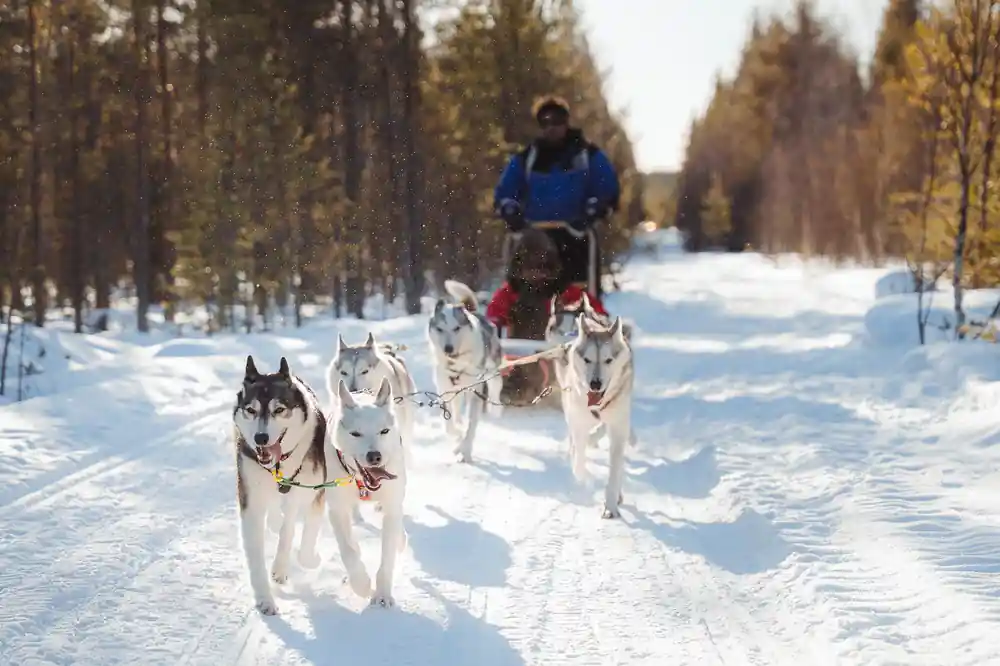
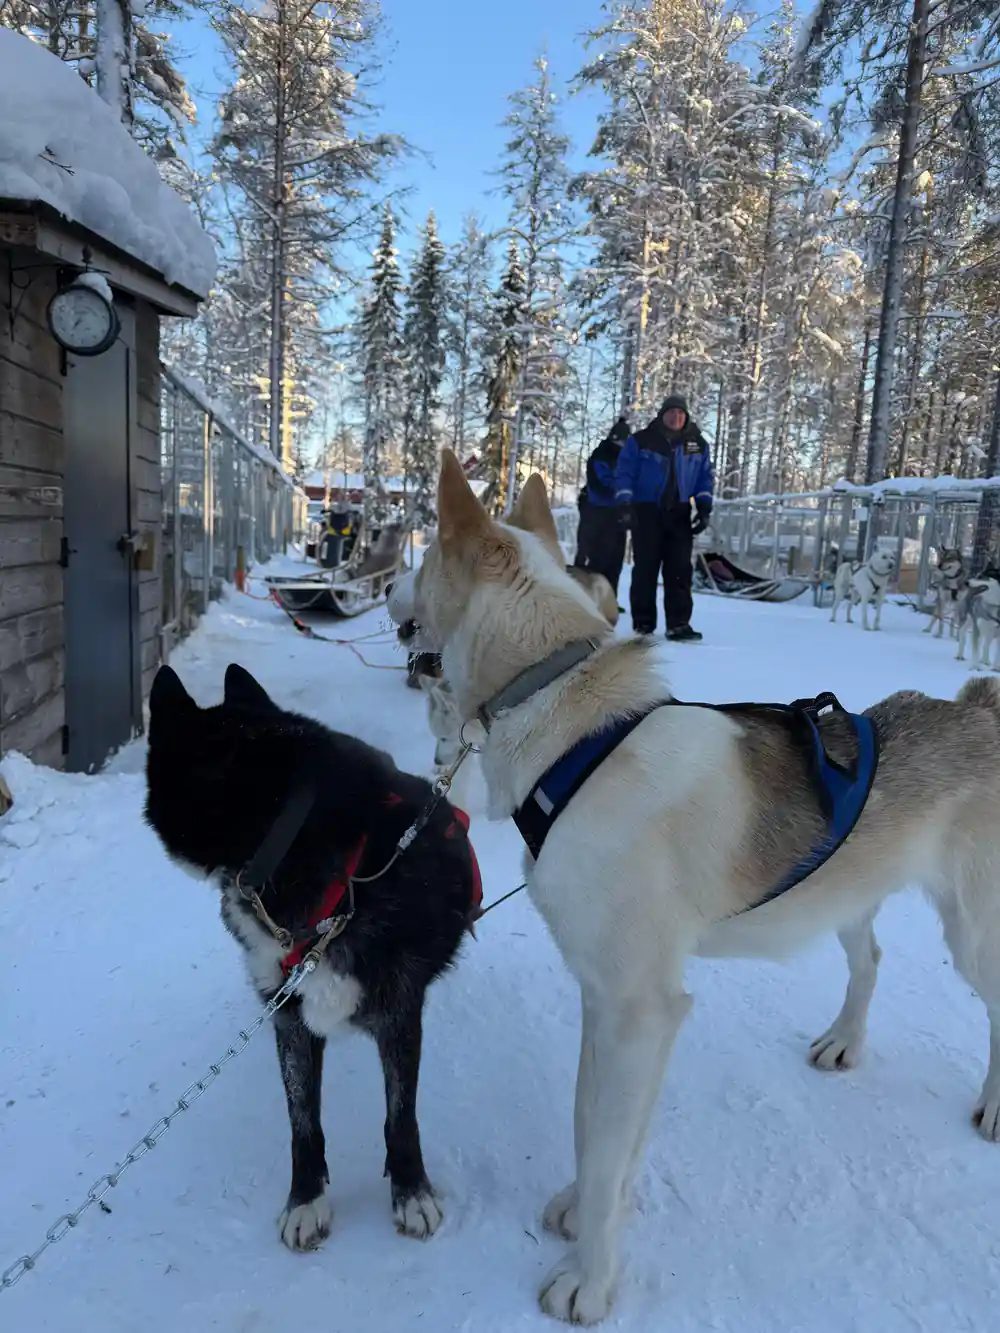
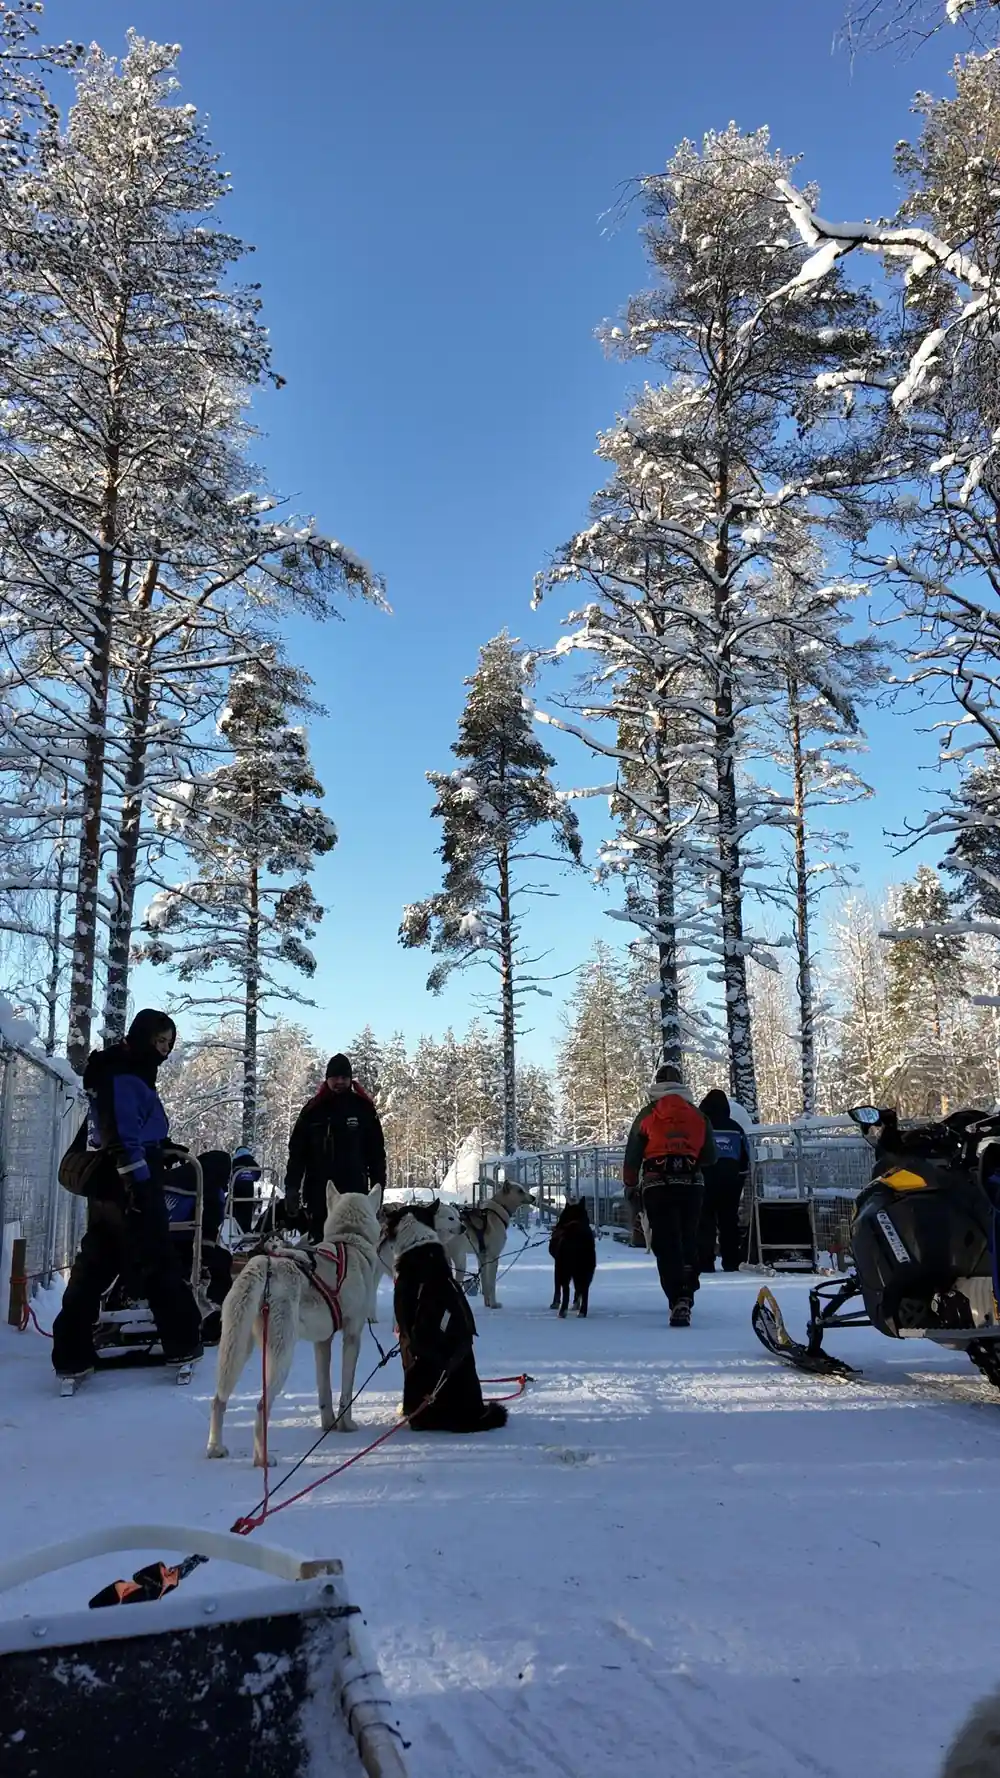
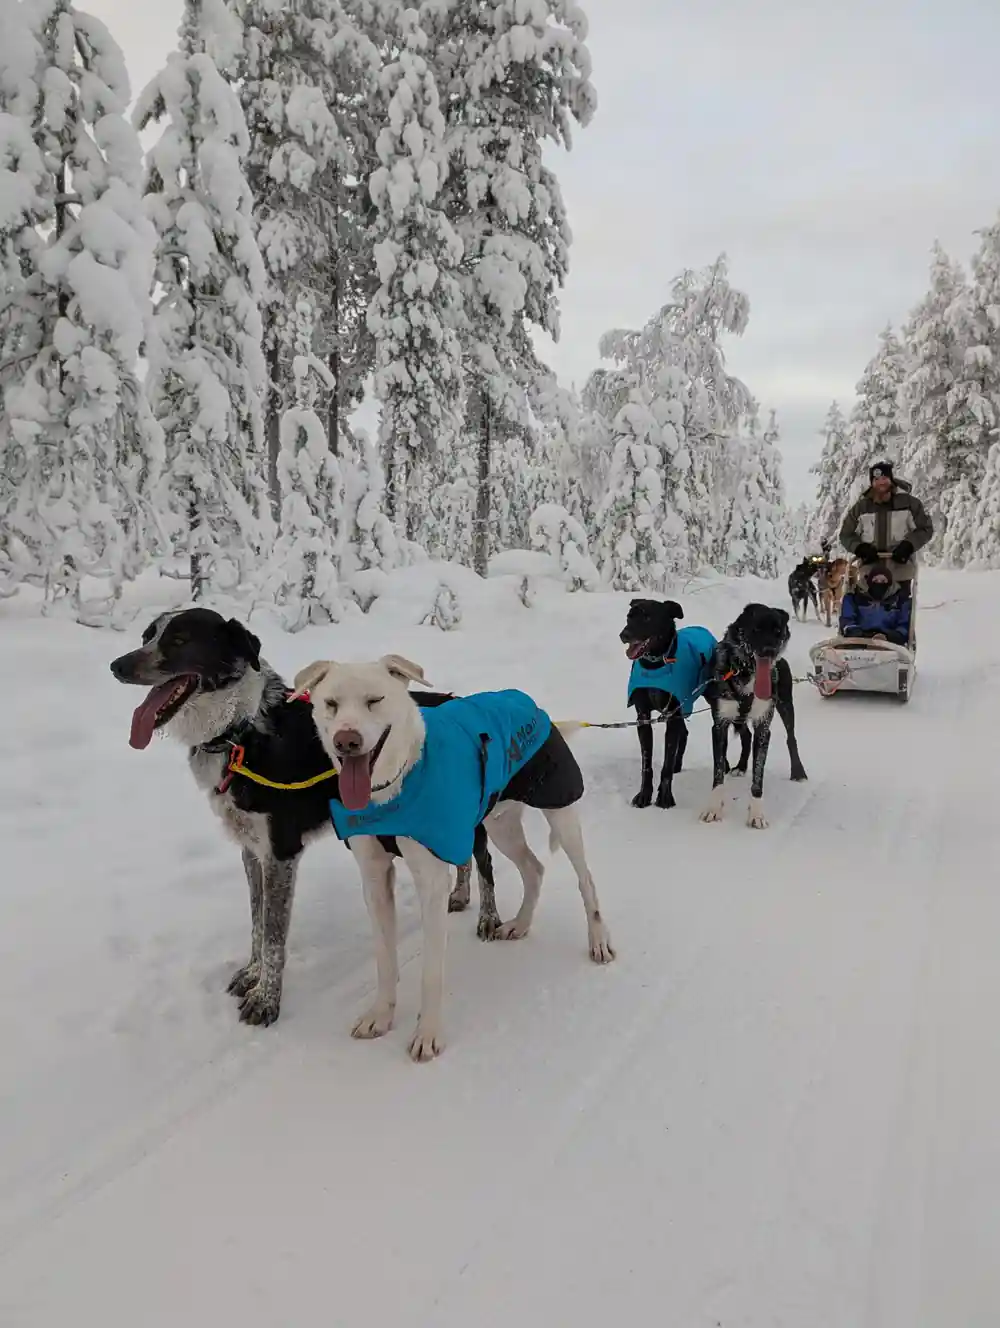
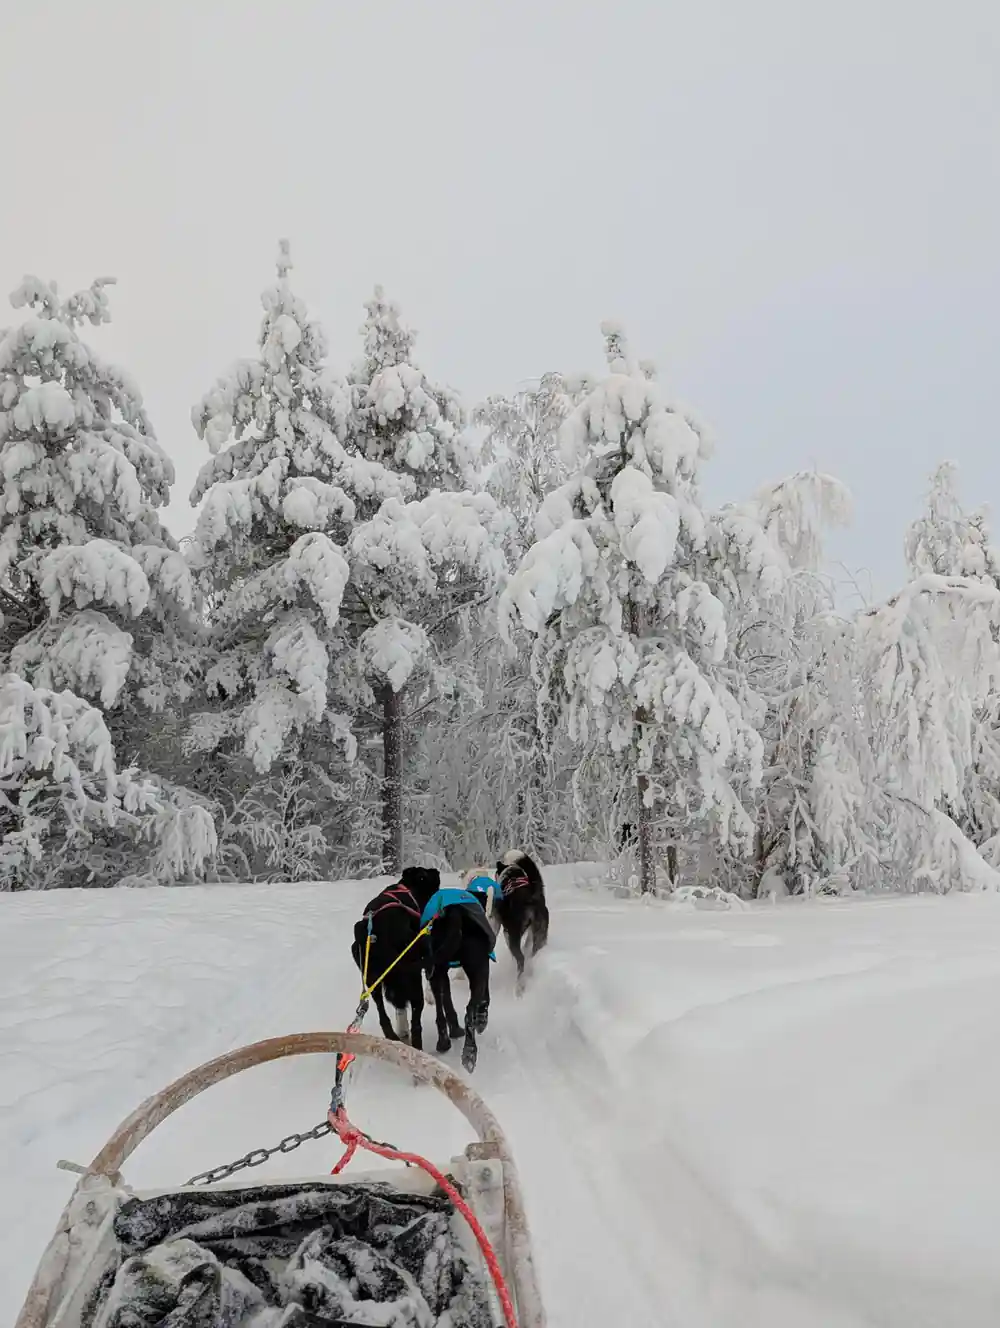
Holding the sled reins while operating a camera requires genuine skill on the trail. Your dominant hand controls the team's direction and speed through weight shifts and verbal commands, leaving your other hand free for photography. Most drivers find smartphone shooting feasible during straightforward sections where the huskies maintain steady pace and the terrain ahead is clear. However, technical passages, turns, and moments requiring sudden commands demand both hands on the sled.
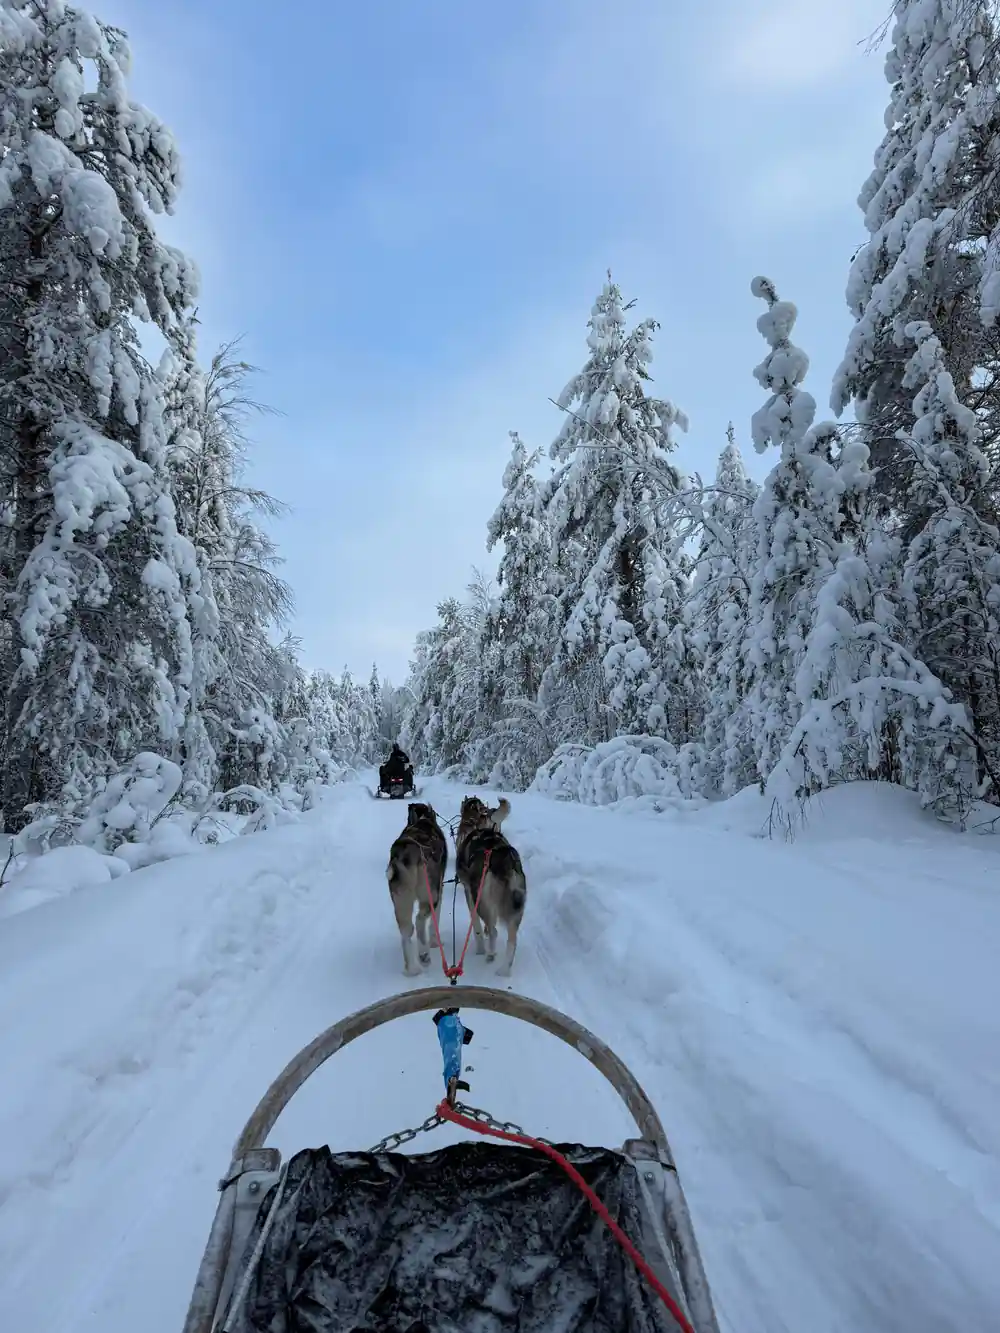
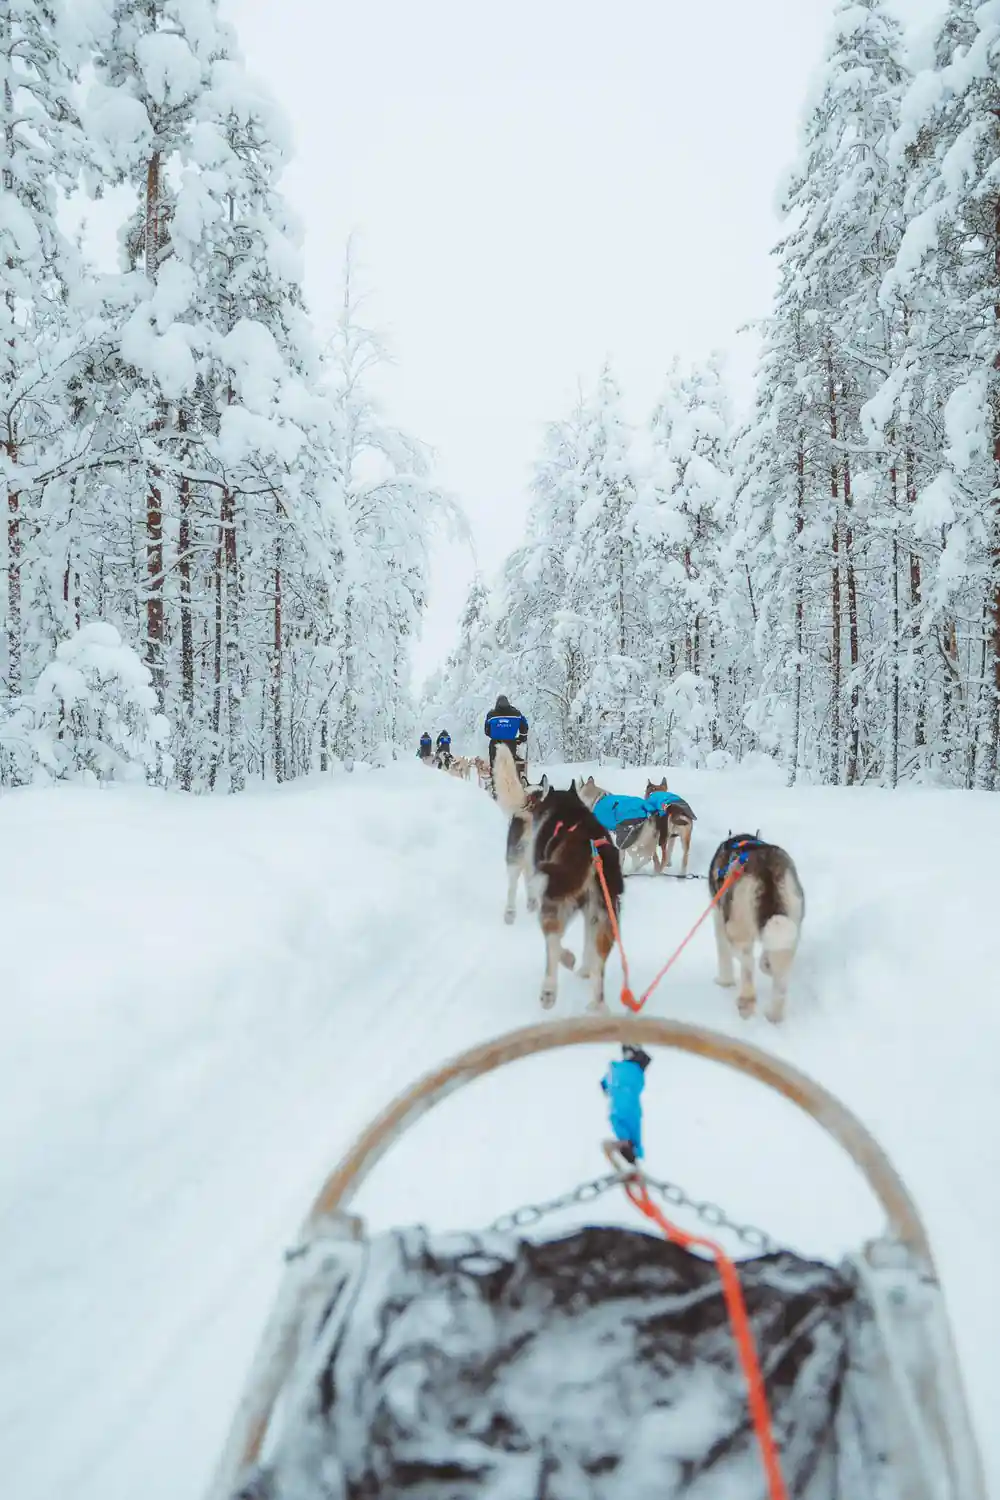
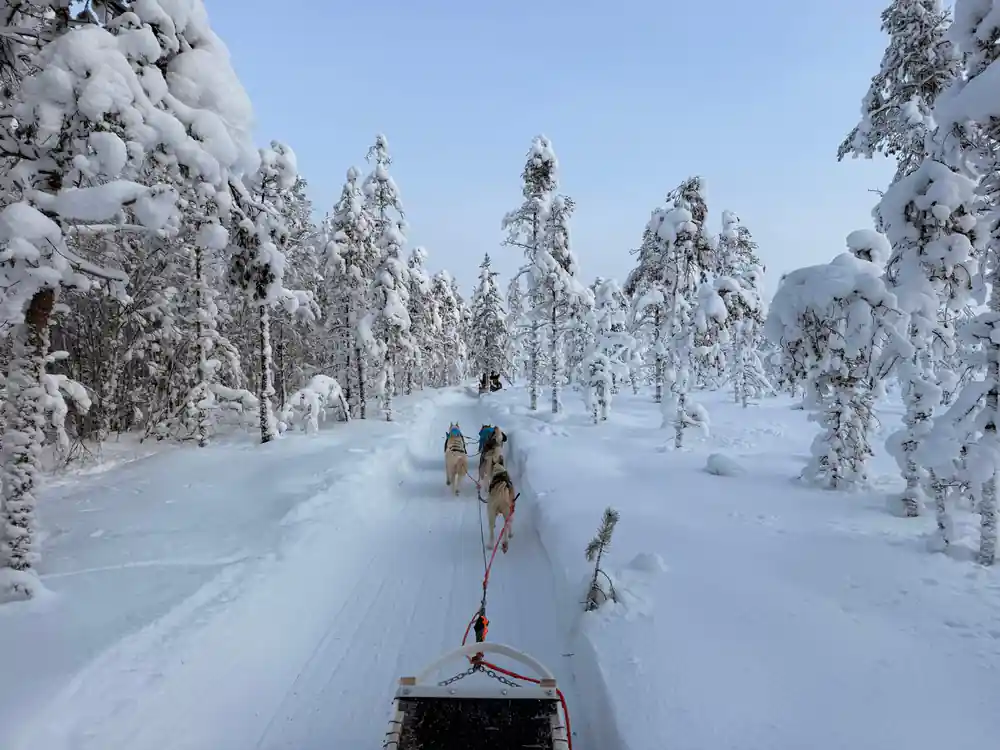
Consider your camera choice carefully. A compact camera or smartphone is far more practical than a DSLR with multiple lenses. The 6 km route through Rovaniemi's winter forest includes stretches where you can safely raise a phone to frame landscape shots, but anticipate losing creative shots during the actual piloting moments. A passenger arrangement often yields better photographs, as one person handles image capture while the other focuses entirely on command and sled control.
Stowing Gear When You're the Passenger
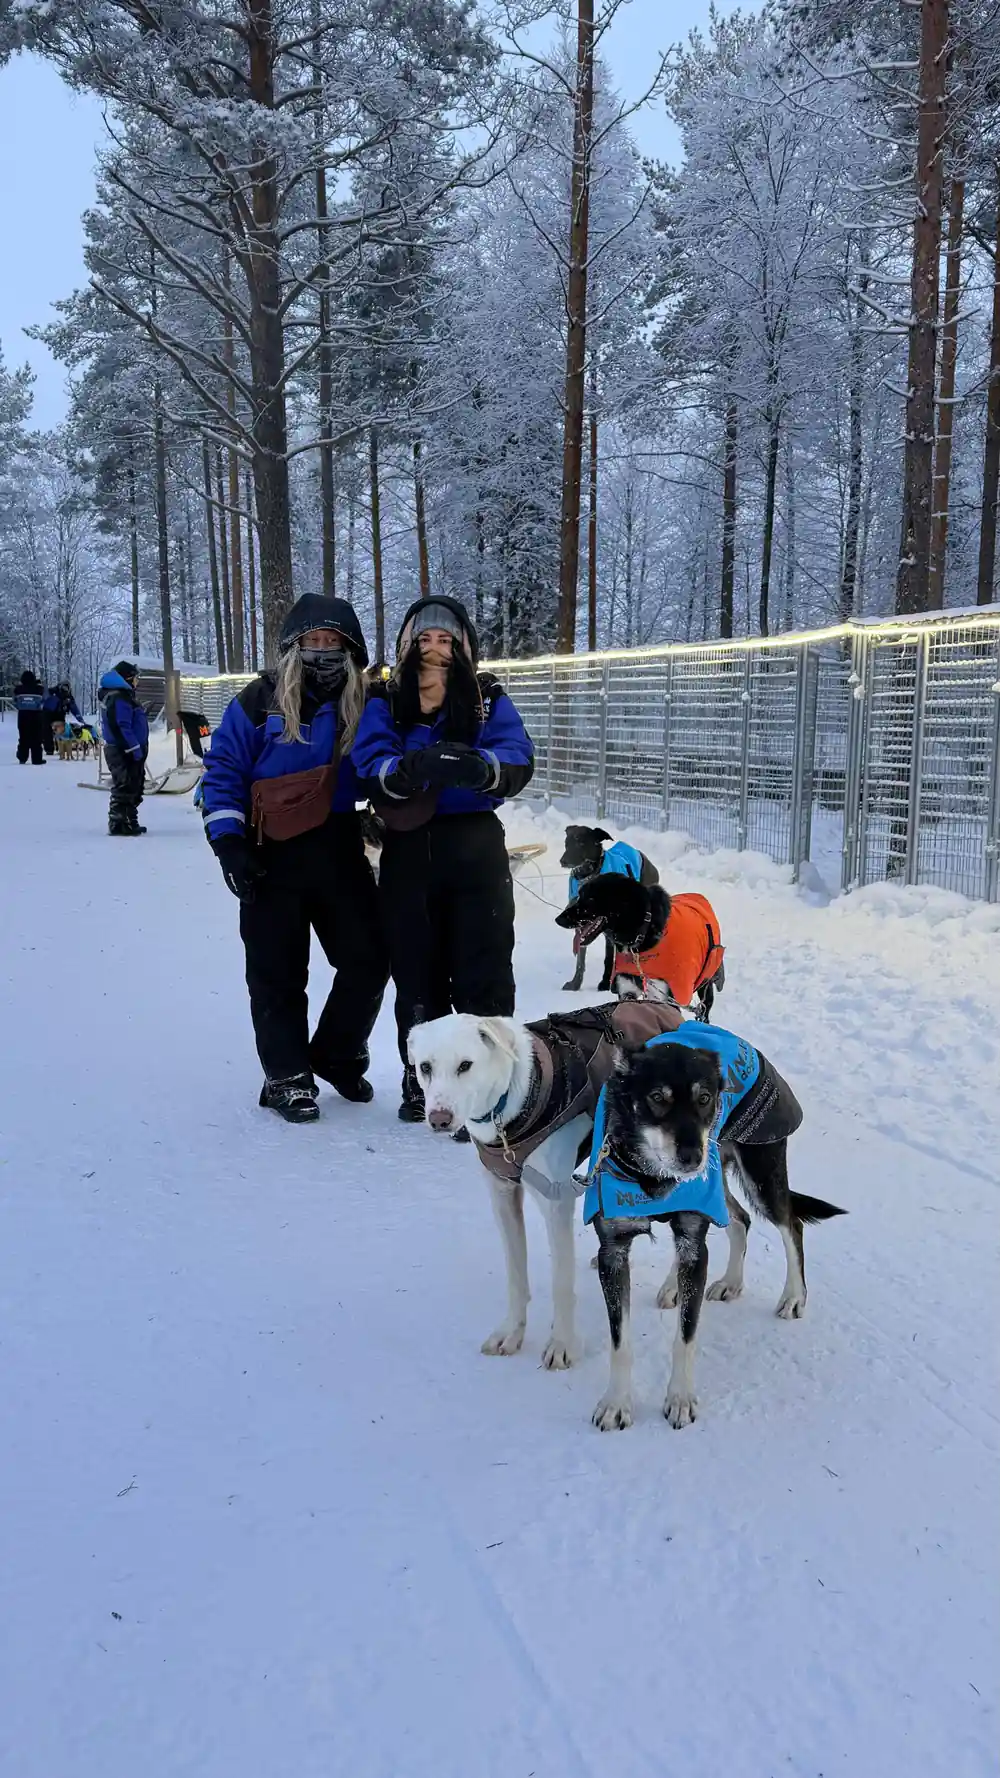
The passenger seat on a husky sled is cramped, and loose items become hazards on a moving vehicle. Secure your camera in a dedicated chest pack or front-facing bag that won't shift during the ride. Avoid back-mounted packs, which are awkward to reach while seated and may catch branches along narrower sections of trail. Soft cases with internal padding protect lenses and bodies better than hard shells, which can press uncomfortably against your torso during the journey.
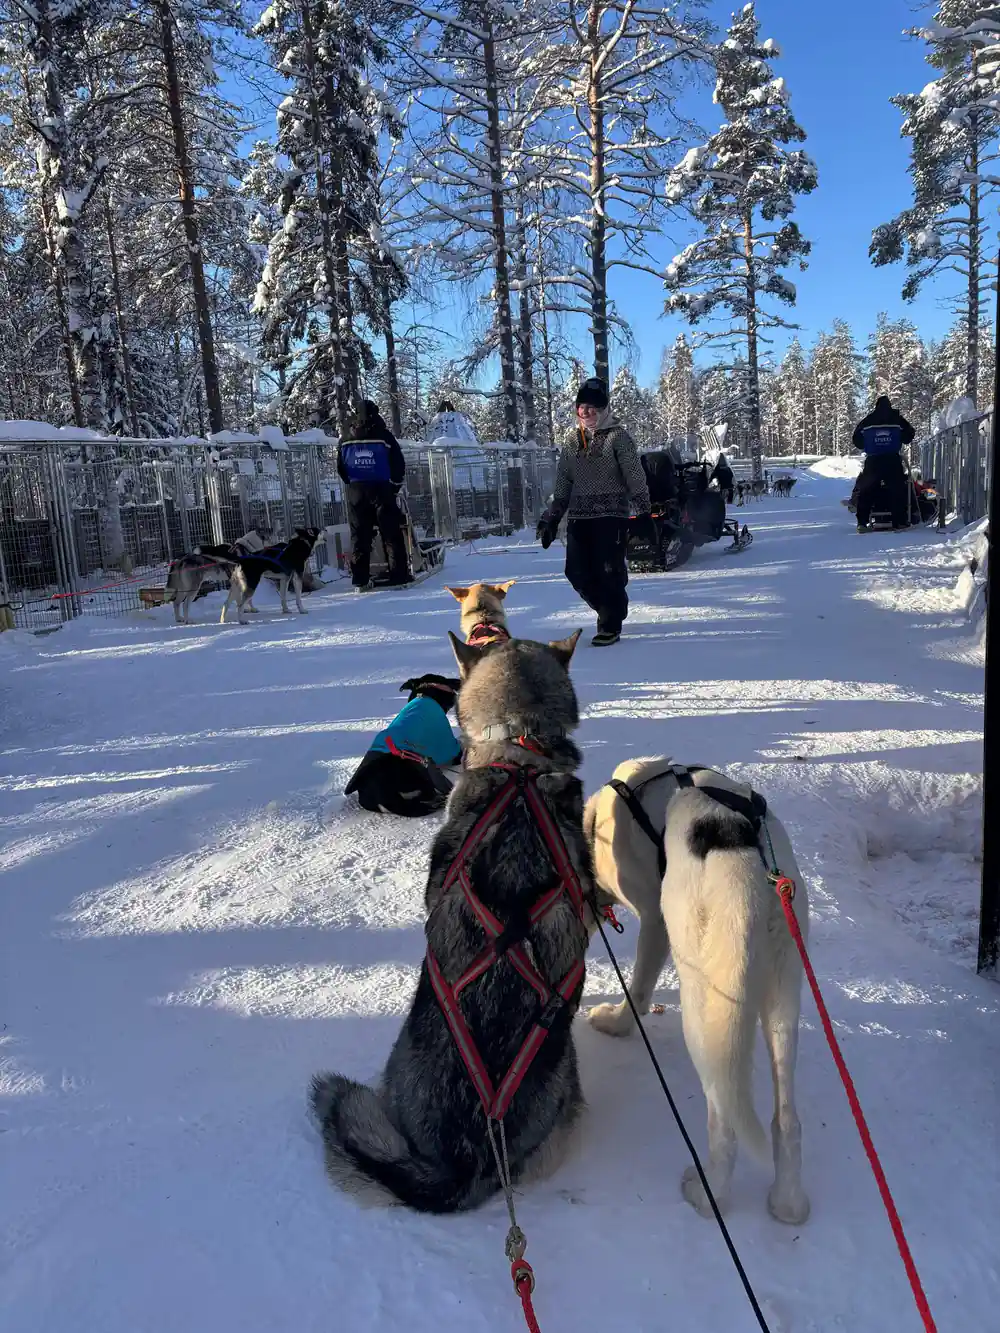
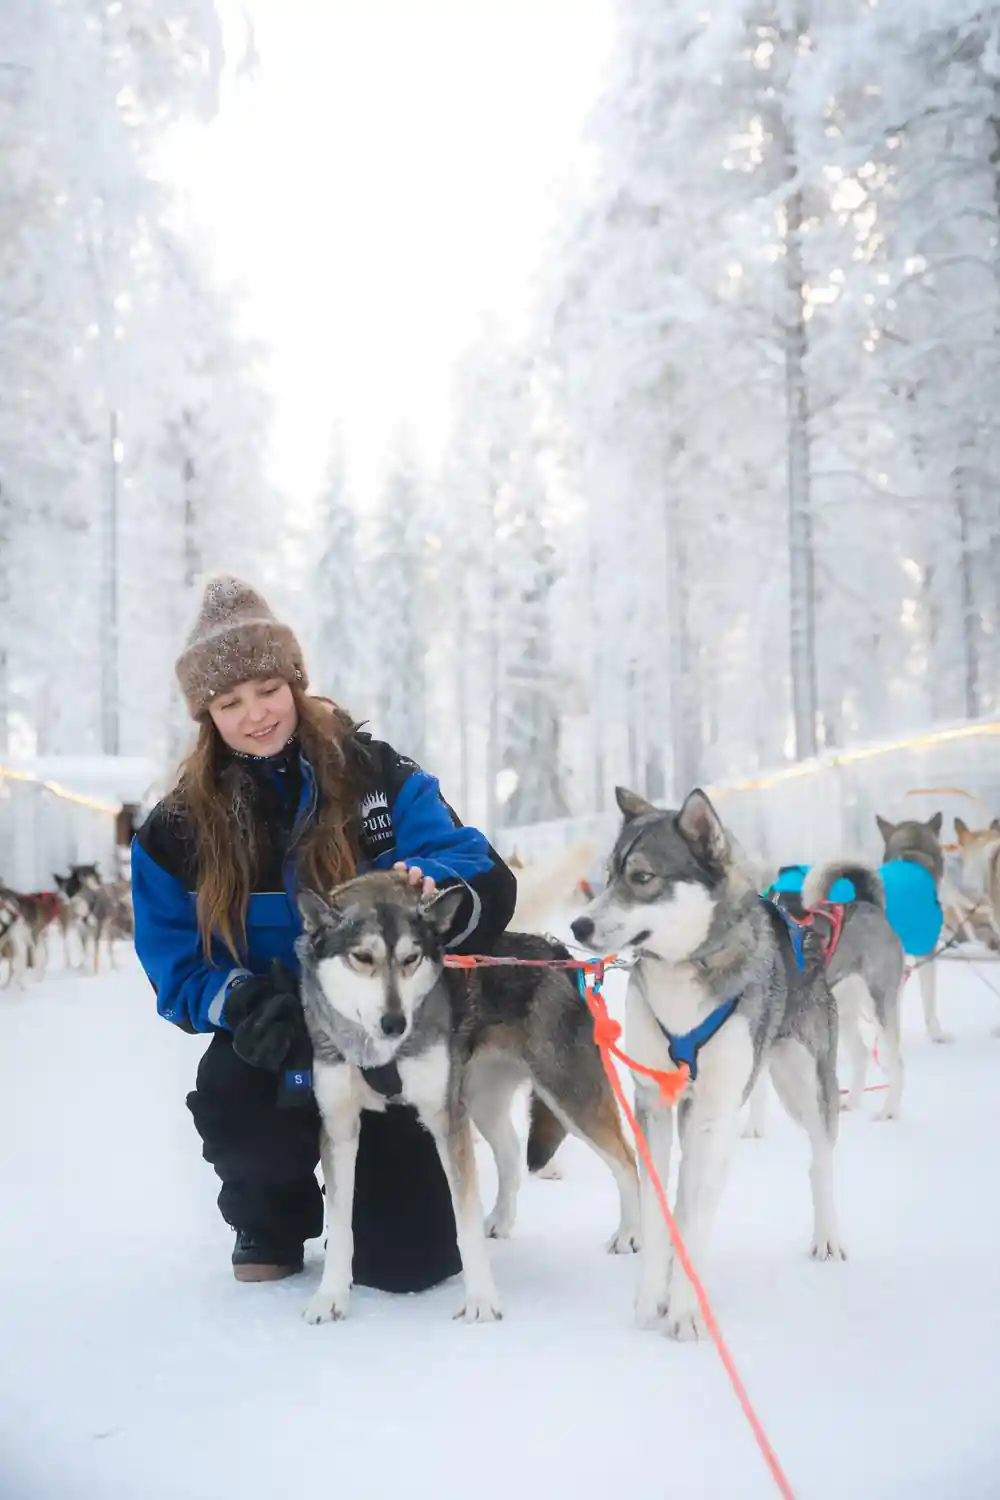
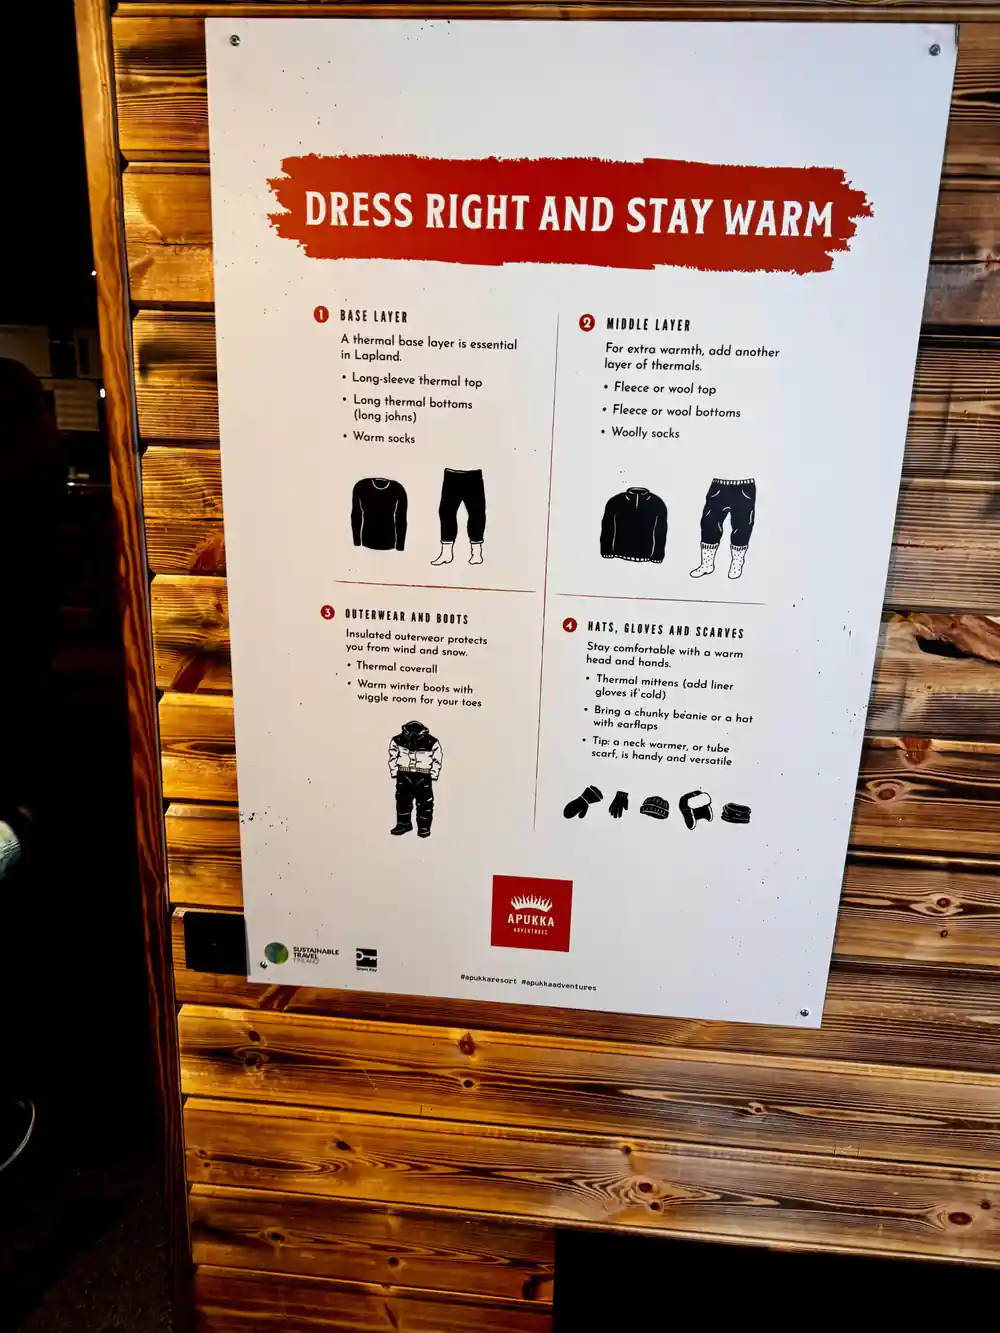
Keep your phone in an inside jacket pocket or a zippered vest compartment rather than holding it loose. If you're shooting video, a GoPro mounted directly to the sled frame or helmet works far better than handheld recording, which creates shaky footage and ties up your hands when you should be bracing for bumps. The winter clothing provided at Apukka includes adequate insulation, so gear stored under your outer layer stays protected and accessible without dangling outside the sled.
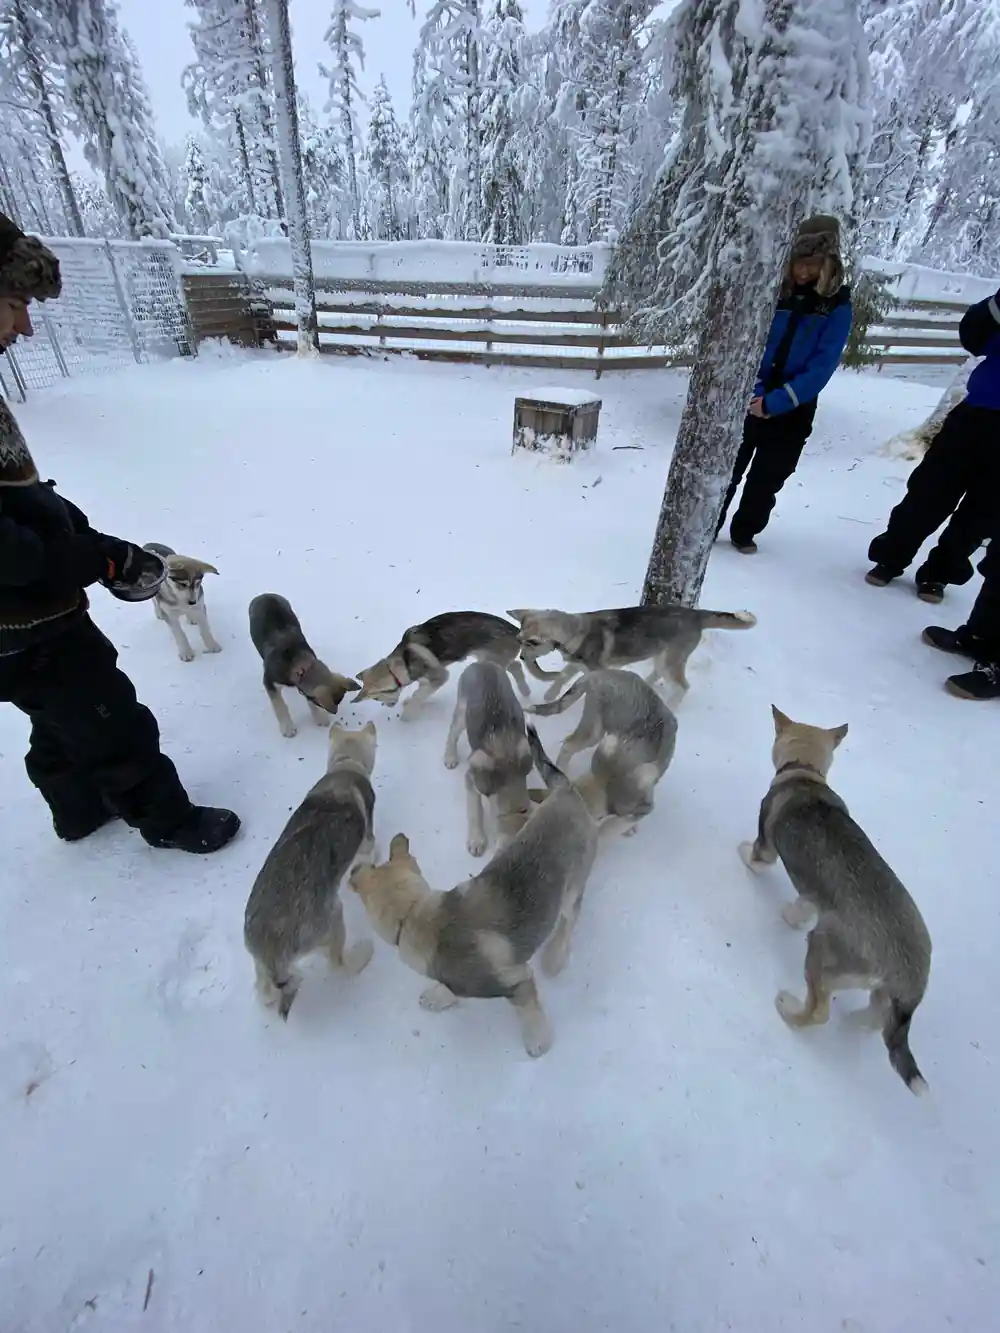
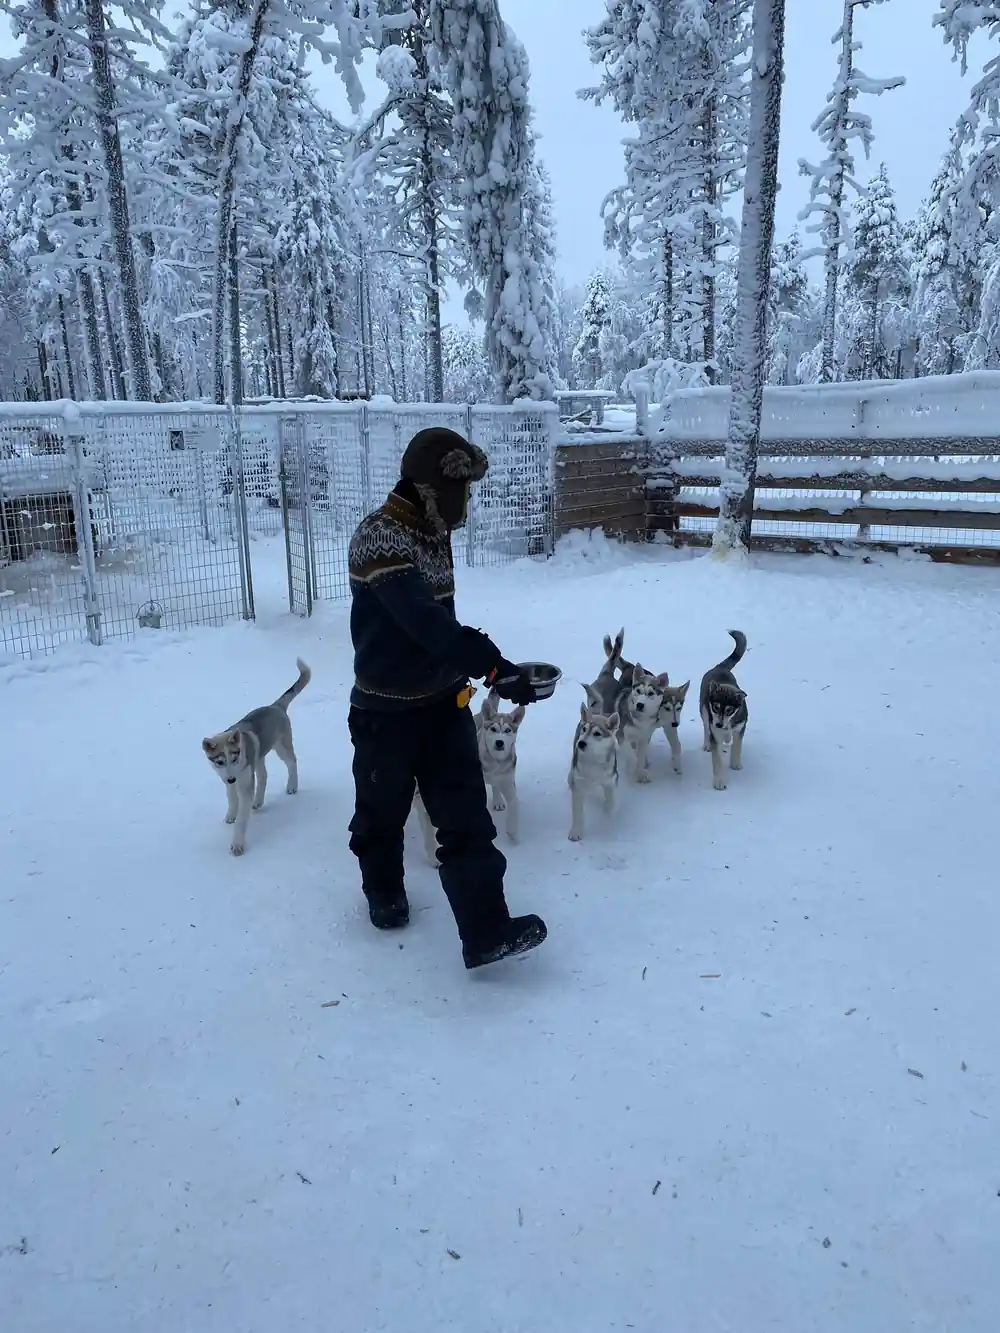
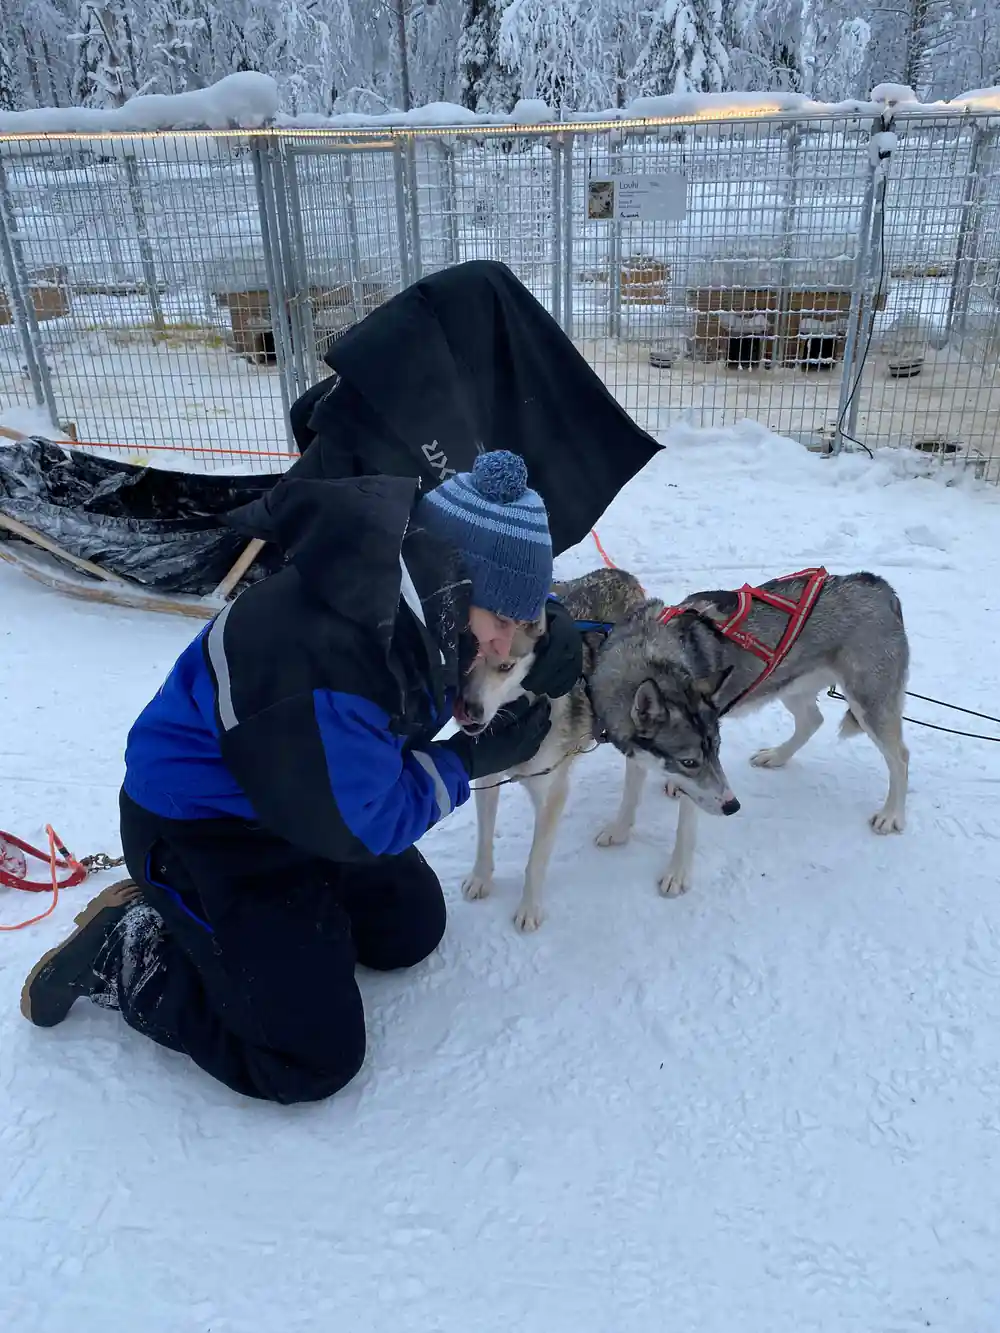
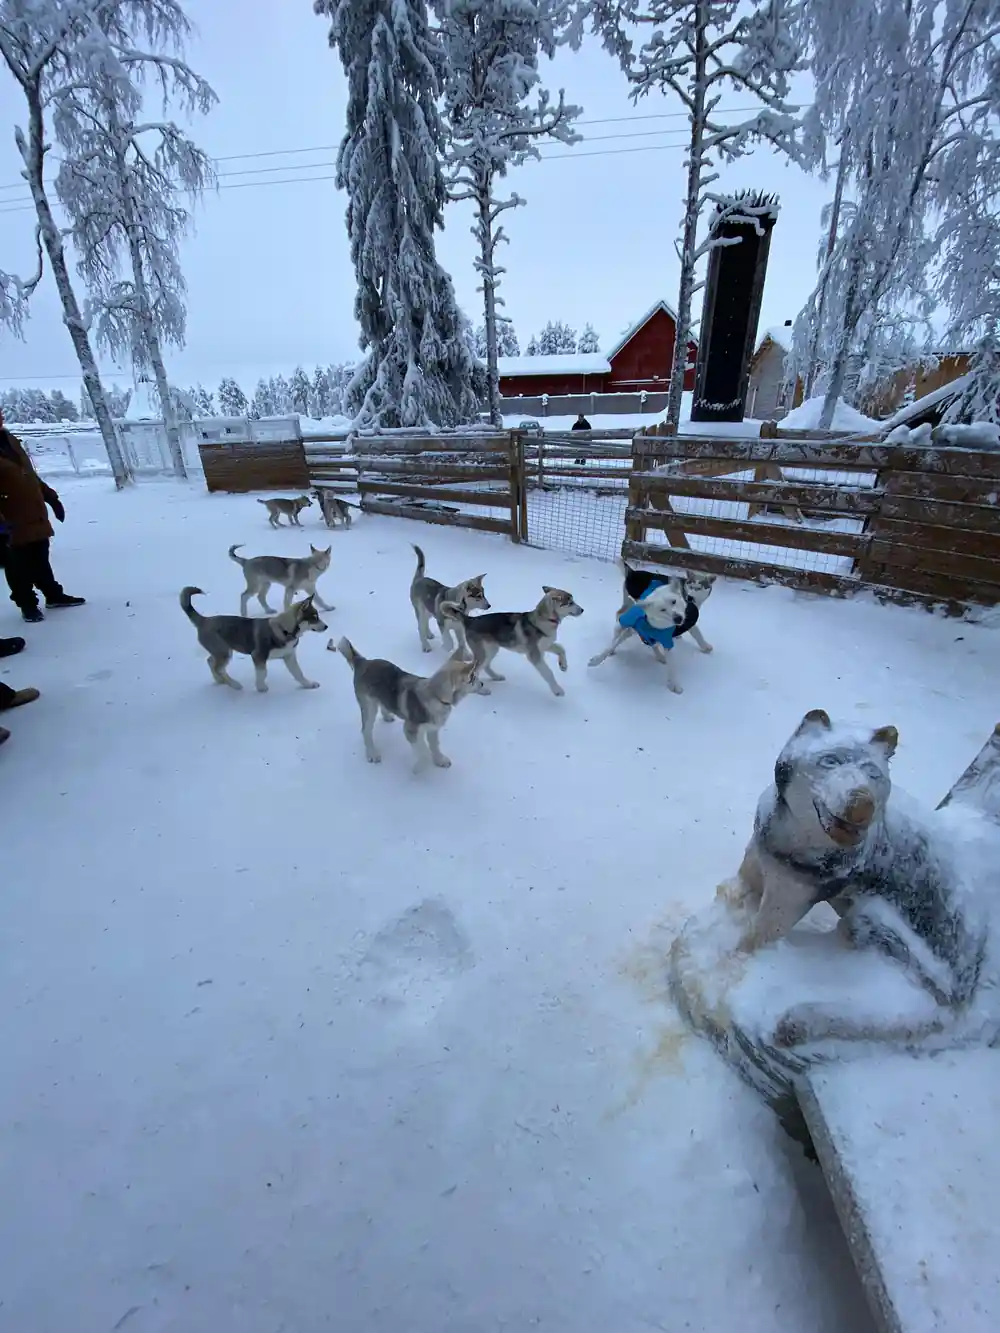
Battery Drain in Arctic Cold
Arctic temperatures around Rovaniemi in winter drop well below freezing, and lithium camera batteries lose charge rapidly in these conditions. A fully charged battery may provide only 40 to 50 percent of its normal runtime when the temperature falls below minus 10 degrees Celsius. During a 3.5 hour outing, your first battery will likely deplete faster than you expect, especially if you're recording video or using autofocus heavily.
Bring two fully charged batteries and keep one inside your jacket or thermal clothing against your body. This passive warmth preserves the second battery's charge for the return portion of the ride. Avoid changing batteries outdoors if possible, as exposure time allows cold air to drain remaining power. Allow cameras and batteries to acclimate slowly indoors after the tour, as rapid temperature swings can introduce condensation inside the device. Portable power banks also underperform in extreme cold, so prioritize spare batteries over electrical solutions.
Camera Settings for Blue-Hour Forest Light
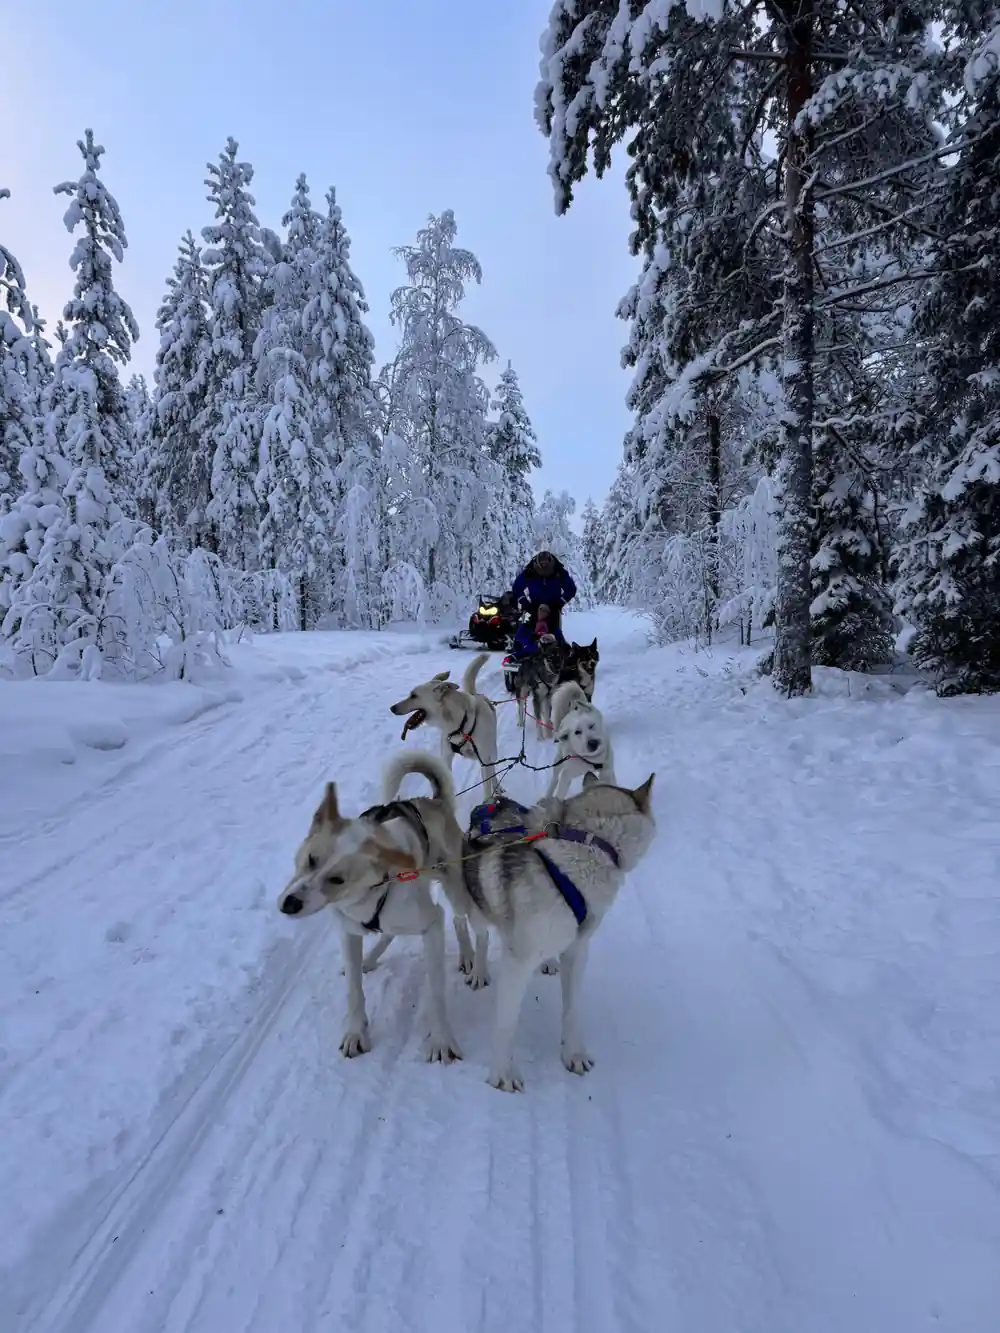
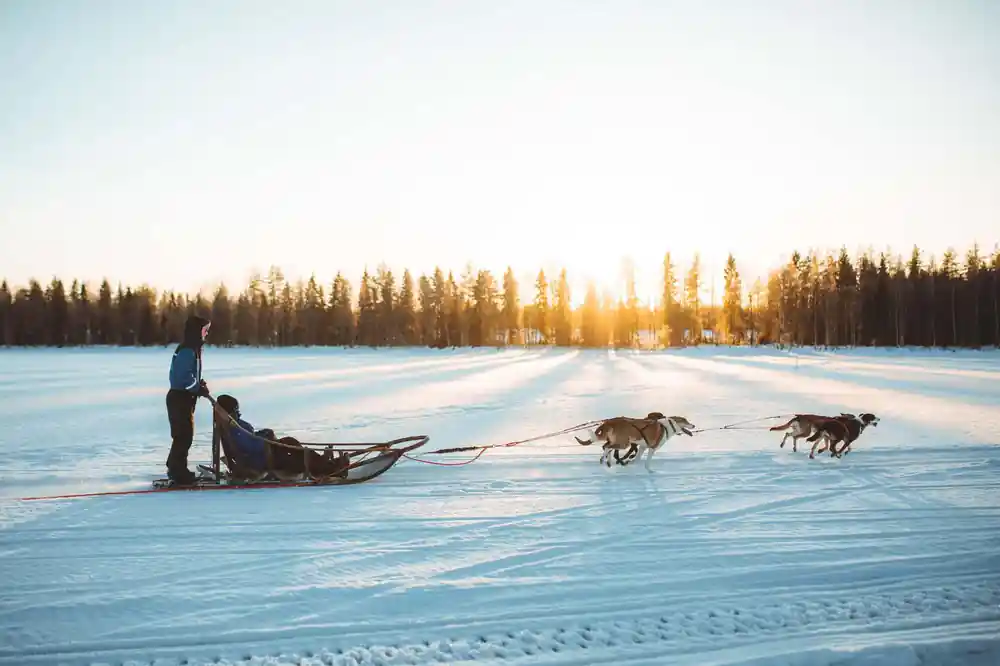
The Rovaniemi winter afternoon transitions into blue hour, that magical window of soft, cool-toned light filtering through coniferous forest. This period typically lasts 30 to 60 minutes depending on the exact season, and it's when the husky ride's visual drama peaks. Increase your ISO to 1600 or 3200 to capture sufficient light without requiring slow shutter speeds that blur motion. A shutter speed of 1/250th of a second or faster freezes the huskies' movement and sled vibration.
Set your white balance to daylight or slightly cooler (around 4000 to 5000 Kelvin) to preserve the blue tones without overcorrecting toward yellow. Use aperture priority mode so you can maintain control over depth of field while the camera adjusts shutter speed as light changes. Avoid using automatic white balance, which often neutralizes the beautiful cool cast of blue-hour light. If your camera offers it, shoot in RAW format, which preserves shadow and highlight detail and allows correction of white balance after the ride without quality loss.
50%
Smartphone batteries can drain 50% faster in Arctic conditions, so bring a backup power bank.
Mounting a GoPro on Your Sled
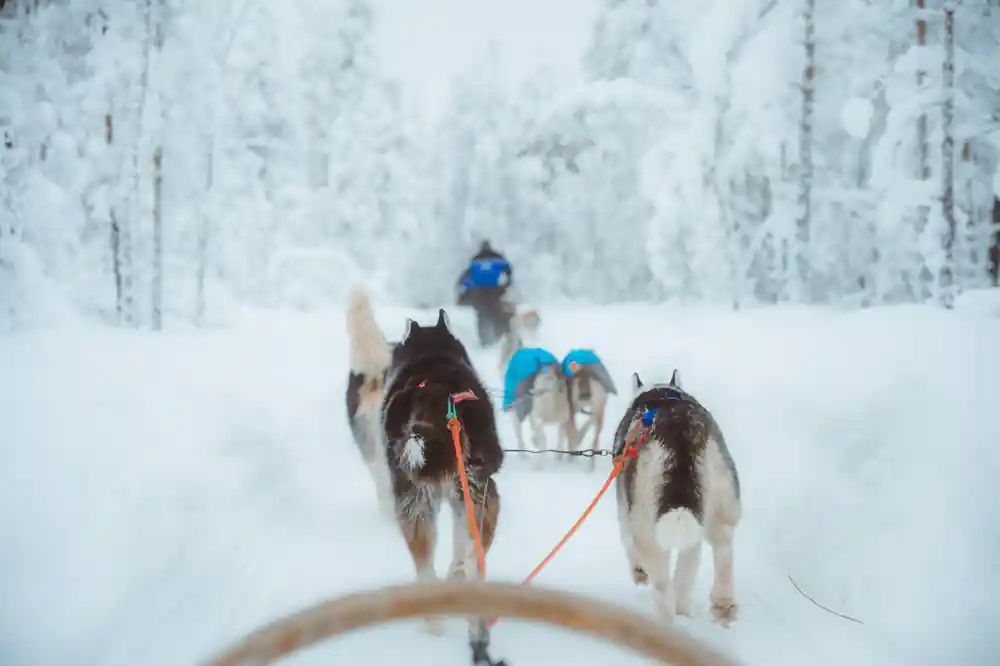
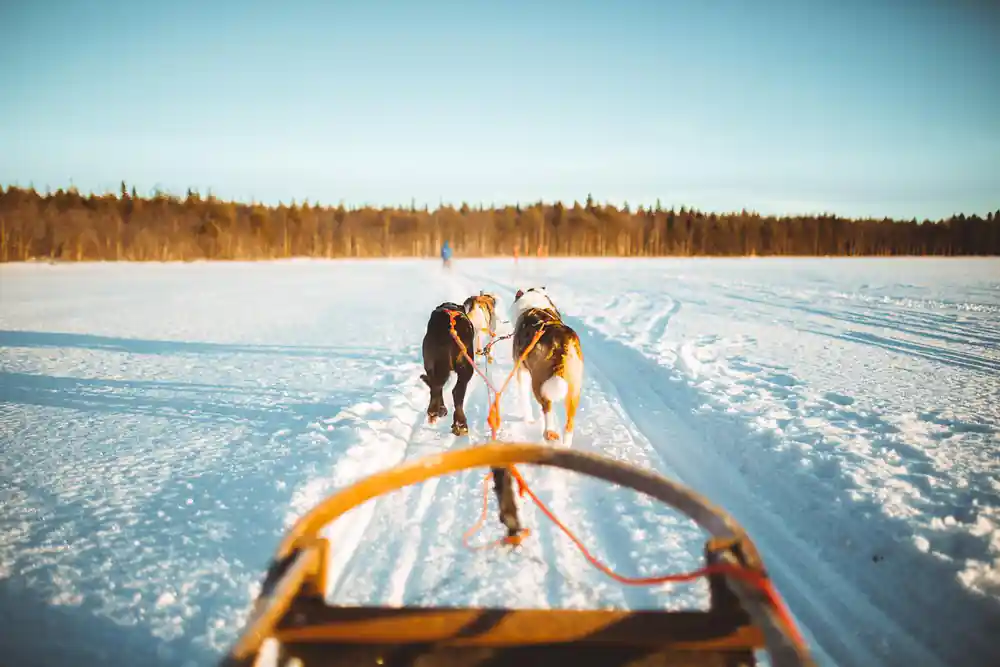
A GoPro or similar action camera mounted directly to the sled frame captures immersive footage impossible to achieve by hand. The mounting bracket attaches to the sled's front rail or handlebar area, positioning the camera to frame the huskies ahead and the trail unfolding forward. This approach frees both your hands for sled operation and keeps the camera stable regardless of jolts or turns.
Use a rubberized mounting clamp designed to absorb vibration; direct metal-to-metal mounting transmits every bump to the camera and produces unwatchable footage. Set the GoPro to a wide field of view (170 degrees or wider) to capture the scope of the landscape. Frame rate of 30 frames per second balances file size with smooth playback, though 60 fps is acceptable if your storage capacity allows. Mount the camera low enough to avoid including your own hands or the sled's frame in the shot, and position it slightly forward of center so the huskies remain the visual anchor throughout the ride.
Photography in Heavy Mittens
The thermal mittens provided as part of your winter clothing are essential for safety but severely limit camera operation. Shooting buttons, touchscreens, and focus rings become nearly impossible with thick insulation covering your fingers. Consider bringing thin silk or merino wool liner gloves that fit under the mittens, allowing you to remove only the outer mittens when you need to adjust settings or frame shots. This approach keeps your hands warmer overall than constantly removing full mittens.
Pre-set your camera's critical functions before the ride begins. Focus mode, exposure compensation, and ISO should be locked in rather than adjusted on the fly. Smartphones are slightly easier to operate than cameras in mittens because touchscreens respond to firm pressure even through light glove layers, whereas mechanical buttons demand precise finger placement. If you're serious about shooting while driving, invest a few seconds before departure to simplify controls and establish fixed parameters that work for the entire trail.
Condensation and Gear Care Indoors
When you return to heated spaces after three and a half hours in Arctic cold, condensation forms rapidly on camera lenses, sensors, and electronics. This happens because warm indoor air holds moisture that precipitates onto cold surfaces. Leave your camera sealed in its bag for 15 to 20 minutes after arriving indoors, allowing internal air temperature to rise gradually toward room temperature before you open it. This slow acclimation prevents moisture from condensing on optical and electronic components.
Never attempt to clean a lens or access internal components immediately after coming indoors. If condensation does form on a lens surface, use a soft cloth to wipe the exterior only, and let internal moisture evaporate naturally in a warm, dry environment. Some photographers place their sealed camera bag in a dry cupboard or hotel room overnight to ensure complete acclimation before unpacking. After the tour, store your battery separately from the camera and allow both to warm to room temperature independently, further reducing the risk of internal condensation damage.
Capture your Arctic sled adventure
from US$253Reserve now & pay later